
[ad_1]
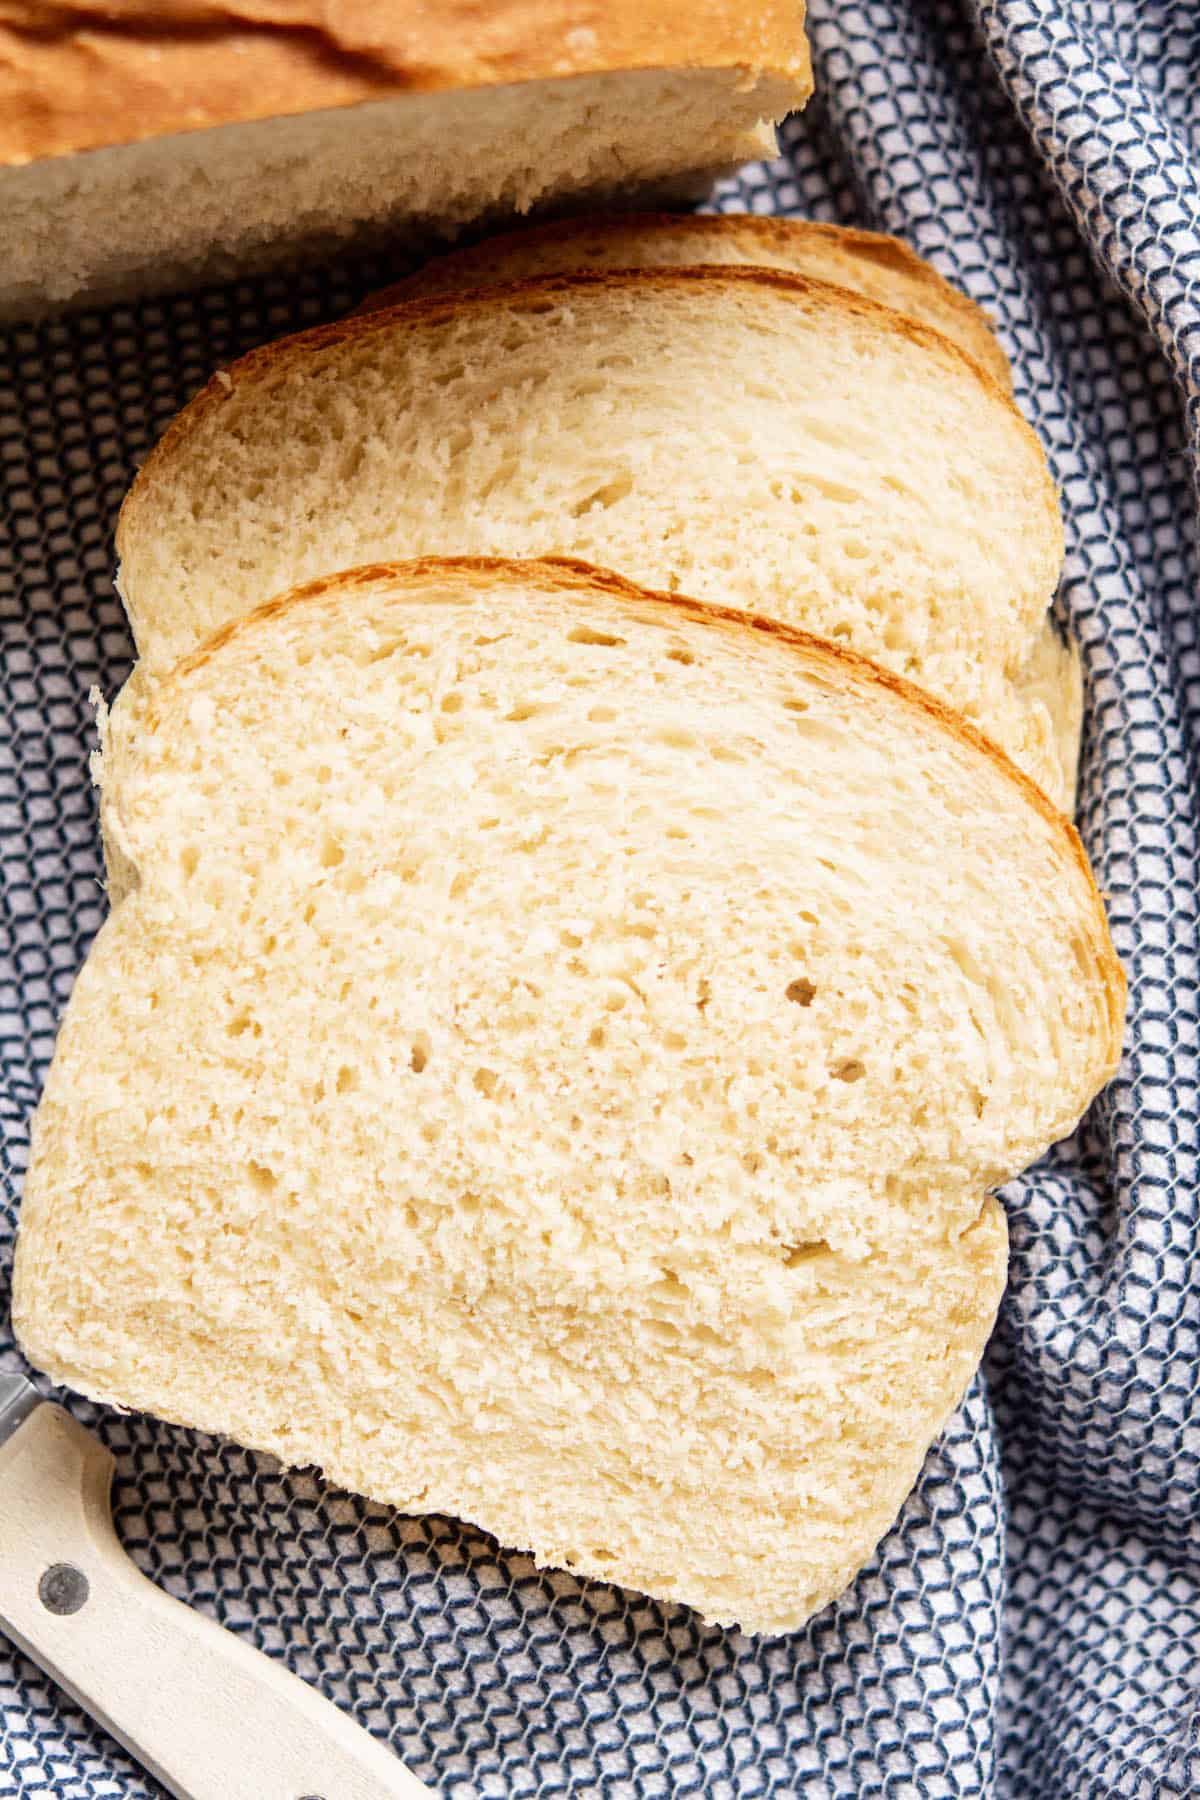
This straightforward sourdough discard sandwich bread recipe makes use of leftover starter and business yeast to create a delicate, tender bread loaf. It makes an ordinary white bread with a delicate crust that’s good for slicing for sandwiches and a good way to make use of up leftover starter!
Generally, you want bread quick, and this discarded sourdough bread is strictly that! It may be prepared in as little as 3 hours. It’s an easy dough to work with, too, so it may be made by hand (which is what I do) or within the stand mixer. It’s an important recipe to have as a base, and you may add in mix-ins like seeds and spices to make it your personal!
This sourdough discard bread recipe makes use of discard from a 100% hydration starter. This was fed equal elements (in weight) of water and flour.
You would possibly like this multigrain sourdough sandwich bread too!

Components
Right here’s what you want for this sourdough discard sandwich loaf. Discover the ingredient quantities listed within the printable recipe card on the backside of this publish.
- Bread flour or robust all function flour – With a protein content material of a minimum of 11%
- Granulated sugar or brown sugar – Somewhat to feed the yeast
- Lively dry yeast or instantaneous yeast
- Sourdough starter discard or energetic sourdough starter – It doesn’t matter in case you use an unfed or not too long ago fed starter.
- Water and milk
- Softened butter – Salted or unsalted butter
- Salt
Tools
- A big mixing bowl
- A 9 x 5-inch loaf pan for baking the bread
- Parchment paper to line the pan
- Kitchen scale – Ideally, you’ll have a kitchen scale to measure this recipe in grams. When you don’t, US-size cup measurements are offered, too, however observe that these are inaccurate. These are sometimes over-packed, including an excessive amount of flour to the bread and making the dough dry. For greatest outcomes, use a scale.
Technique
- Mix the nice and cozy water, milk, sugar, and yeast in a big bowl. If utilizing energetic dry yeast, let this sit for round 5-10 minutes till it turns into foamy; if utilizing instantaneous yeast, this step will be skipped.

- Add the flour, starter, and salt, and use a fork or a picket spoon to mix it right into a shaggy dough.
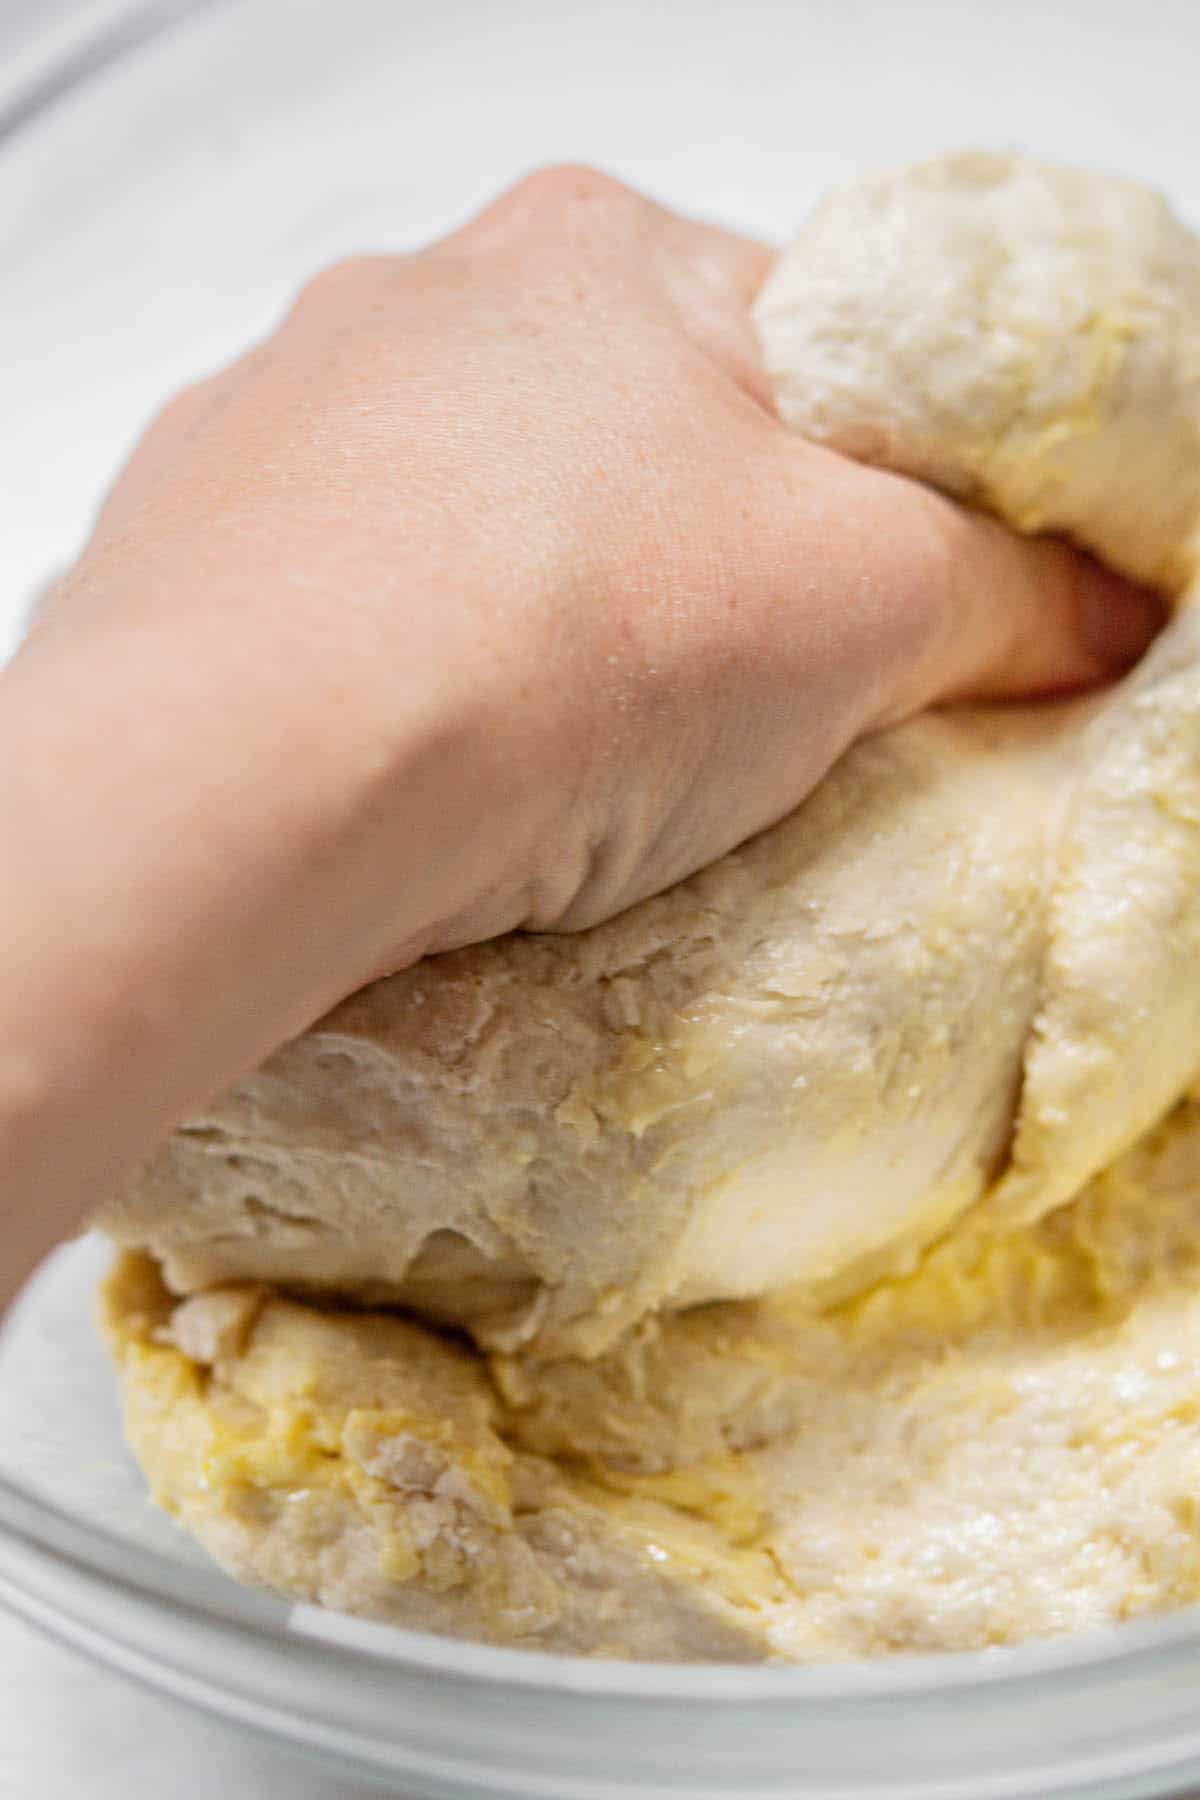
- Add the softened butter and work it by hand into the dough, squishing it till mixed.
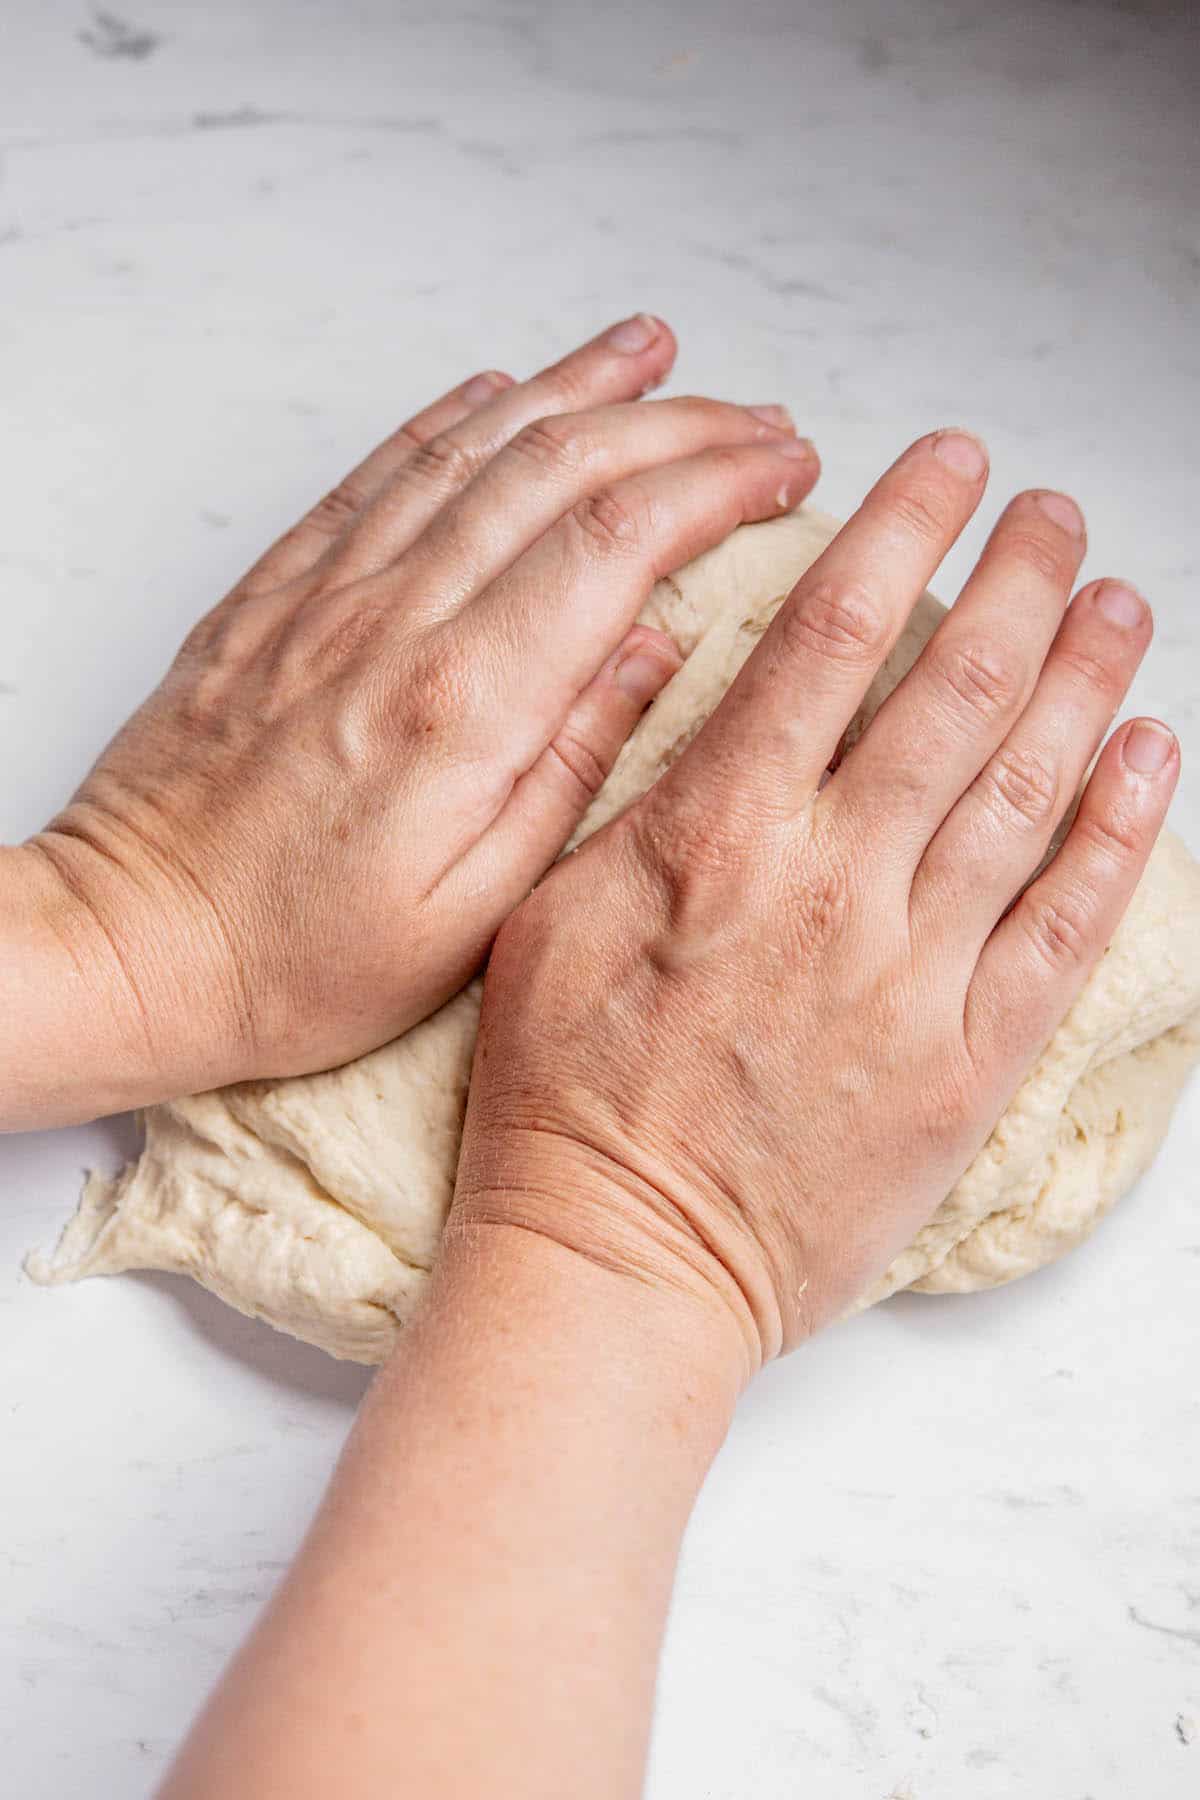
- Convey the bread dough onto a calmly floured work floor and knead it by hand for round 8-10 minutes till it’s delicate, easy, and elastic.

This will also be achieved in a bowl of a stand mixer fitted with a dough hook attachment.
- As soon as the dough has been kneaded, place it right into a ball in a calmly greased bowl. Cowl the bowl with a humid towel and let the dough rise in a heat place till doubled in measurement, roughly 1 to 1 1/2 hours. The rising time will depend upon the room temperature.
- You may also do that first rise in a single day within the fridge to present the dough a chilly proof.
Shaping
- Line a 9×5-inch bread pan with parchment paper.

- Deflate the dough and pull it from the bowl onto a calmly floured floor.
- Flatten the dough together with your arms right into a rectangle, with the width being just below the size of your loaf pan.

- Fold the highest third of the dough midway again in the direction of the middle. Use your fingers or heel of your hand to press alongside the fold to seal it.
- Fold the highest (now folded) portion of the dough again over itself once more, bringing it again in the direction of the middle. Press alongside this fold to safe the seal.
- Lastly, fold the dough once more, bringing the highest edge to fulfill the underside edge and sealing it.

- Place the dough seam aspect down within the lined pan.

- Loosely cowl the dough with a clear kitchen towel or plastic wrap and let the bread rise once more till simply doubled in measurement and about 1 inch / 2.5 cm above the rim of the pan.
How briskly this occurs will once more depend upon room temperature, however the second rise normally takes much less time than the primary. Take care to not overproof it, particularly in case your setting is heat.
Baking
- Whereas the dough is rising, preheat the oven to 350°F/180°C.
- Bake the risen sourdough loaf for about 35 minutes till deep golden brown. If the highest is browning too quick earlier than the bread is prepared, loosely cowl it with aluminum foil after round 20 minutes of baking.

- When achieved baking, the bread ought to sound hole when tapped. The inner temperature of the loaf needs to be round 200°F/94°C.
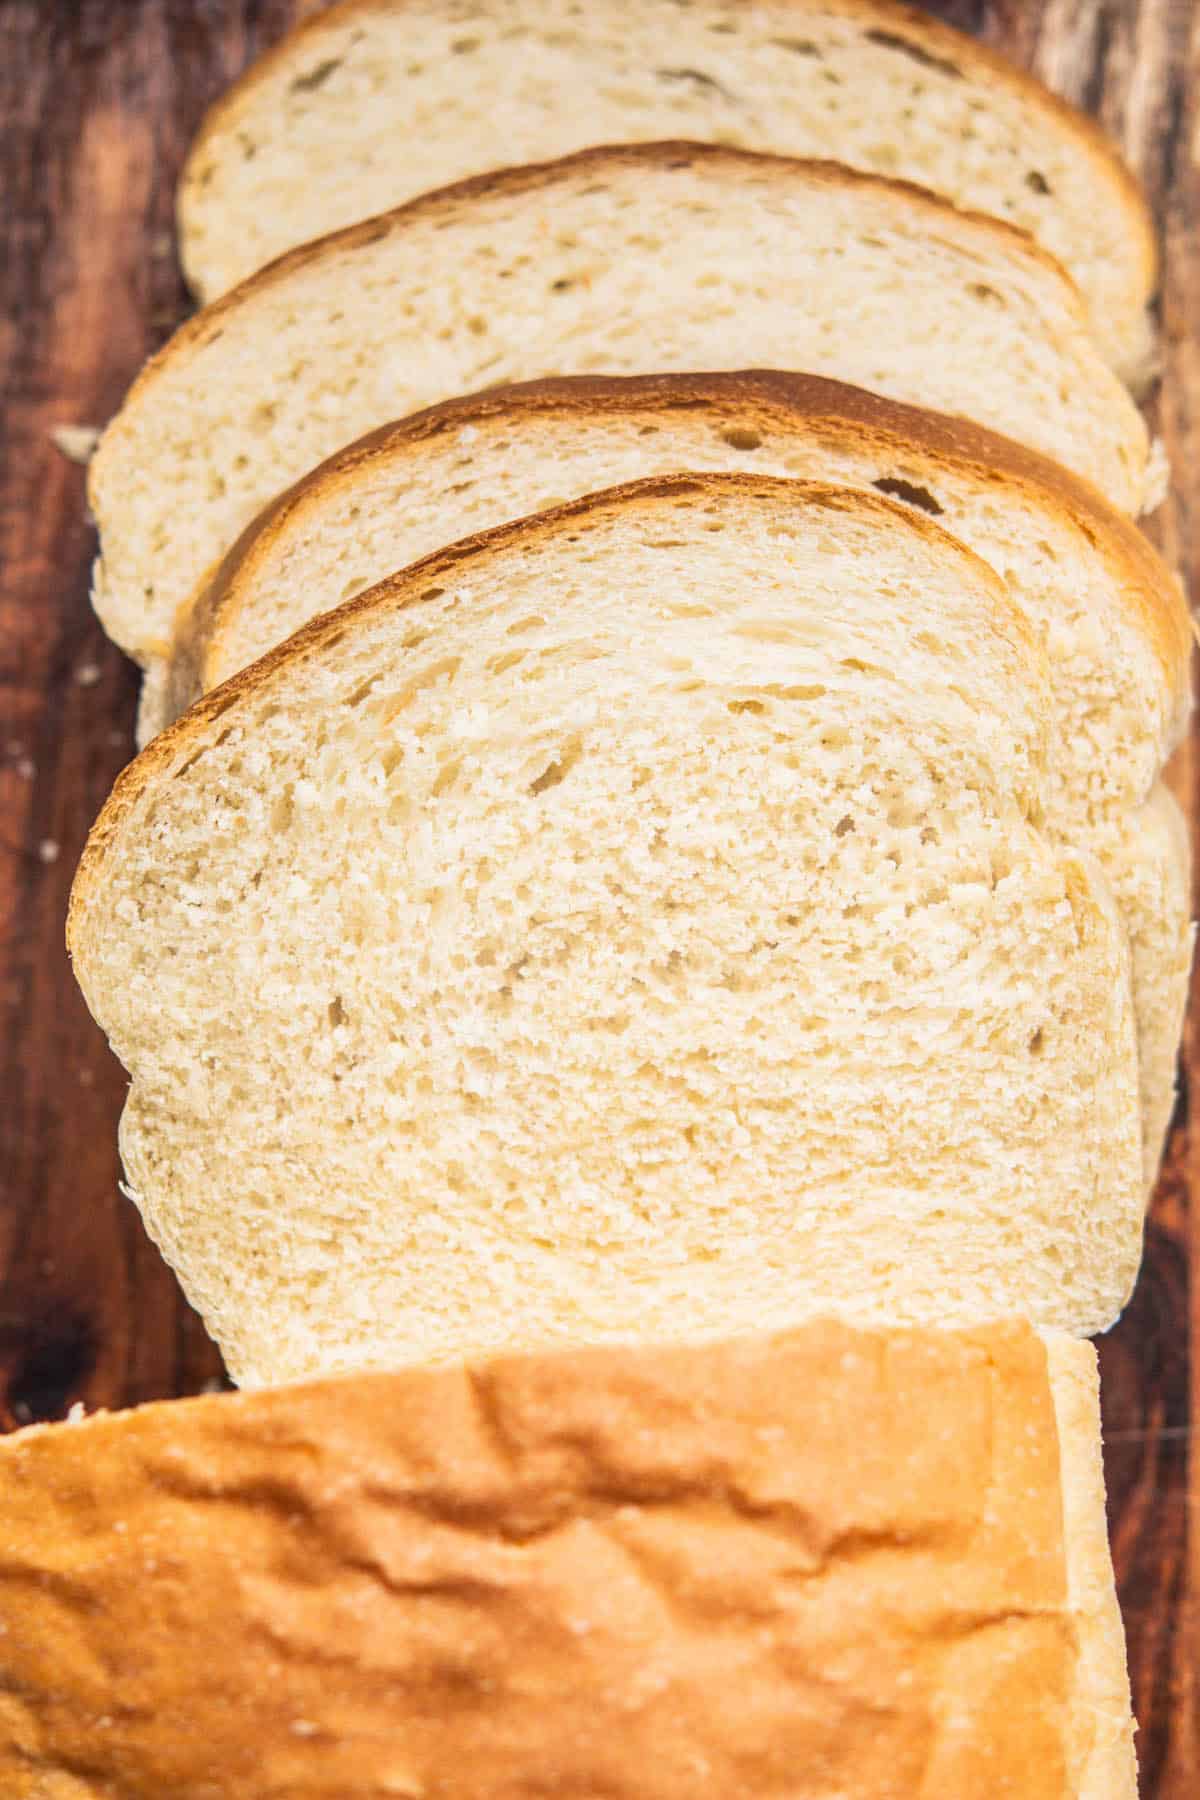
- Let the bread cool to room temperature earlier than slicing.
Storing
The bread will be saved at room temperature and lined tightly for 4-5 days. Alternatively, it may be frozen for as much as 3 months.
Pleased baking!

FAQS
Yup you should use sourdough discard straight from the fridge.
Certain! You possibly can add in seeds like flaxseeds, pumpkin or sunflower seeds. Or flavorful cumin or caraway seeds!
Potential causes embrace outdated or inactive yeast, incorrect water temperature (too sizzling or chilly), inadequate kneading, or a too-cool setting for rising.
Entire wheat flour absorbs extra water and may make the dough denser. Chances are you’ll want to regulate the added water. Mixing slightly little bit of complete wheat and all-purpose or bread flour is a greater concept.
Overproofing – In case your bread rose an excessive amount of and collapsed, it may make the bread dense. Underproofing – If the bread didn’t rise sufficient it’ll even be dense.
The dough needs to be easy, elastic. It ought to move the “windowpane check.” Let the dough loosen up for five minutes, then take a small piece stretched between your fingers to turn into skinny sufficient to be translucent with out tearing.
Associated recipes
Components
- 120g (1/2 cup) lukewarm water
- 120g (1/2 cup) lukewarm milk
- 7g (2 1/2 teaspoons) instantaneous yeast
- 25g (2 tablespoons) granulated white sugar
- 406g (3 1/4 cups*) bread flour or robust all-purpose flour
- 100g (approx 1/2 cup) discard sourdough starter
- 45g (3 tablespoons) room-temperature butter
- 8g (1 1/2 teaspoon) salt
Directions
- Mix the nice and cozy water, milk, sugar, and yeast in a big bowl. If utilizing energetic dry yeast, let this sit for round 5-10 minutes till it turns into foamy; if utilizing instantaneous yeast, this step will be skipped.
- Add the flour, starter, and salt, and use a fork or a picket spoon to mix it right into a shaggy dough. Add the softened butter and work it by hand into the dough, squishing it till mixed.
- Convey the bread dough onto a calmly floured work floor and knead it by hand for round 8-10 minutes till it is delicate, easy, and elastic. This will also be achieved in a bowl of a stand mixer fitted with a dough hook attachment.
- As soon as the dough has been kneaded, place it right into a ball in a calmly greased bowl. Cowl the bowl with a humid towel and let the dough rise in a heat place till doubled in measurement, roughly 1 to 1 1/2 hours. The rising time will depend upon the room temperature.
- You may also do that first rise in a single day within the fridge to present the dough cold-proof.
Shaping
- Punch down the dough and pull it from the bowl onto a calmly floured floor. Line a 9×5-inch bread pan with parchment paper.
- Flatten the dough together with your arms right into a rectangle, with the width simply barely shorter than the size of your loaf pan.
- Orient it in order that the longer sides are to your left and proper, and the shorter sides are closest and farthest from you.
- Take the highest third of the dough (the sting farthest from you) and fold it midway again in the direction of the middle of the dough. Use your fingers or heel of your hand to press alongside the fold to seal it.
- Fold the highest (now folded) portion of the dough again over itself once more, bringing it again in the direction of the middle. Press alongside this fold to safe the seal.
- Lastly, fold the dough once more, bringing the highest edge to fulfill the underside edge and sealing it.
- Place the dough seam aspect down within the lined pan.
- Loosely cowl the dough with a clear kitchen towel or plastic wrap and let the bread rise once more till simply doubled in measurement and about 1 inch / 2.5 cm above the rim of the pan. How briskly this occurs will once more depend upon room temperature, however the second rise normally takes much less time than the primary. Take care to not overproof it, particularly in case your setting is heat.
Baking
- Whereas the dough is rising, preheat the oven to 350°F/180°C.
- Bake the risen sourdough loaf for about 35 minutes till deep golden brown. If the highest is browning too quick earlier than the bread is prepared, loosely cowl it with aluminum foil after round 20 minutes of baking.
- After baking, the bread ought to sound hole when tapped. The inner temperature of the loaf needs to be round 200°F/94°C.
- Let the bread cool to room temperature earlier than slicing.
Storing
- The bread will be saved at room temperature and lined tightly for 4-5 days. Alternatively, it may be frozen for as much as 3 months.
Notes
*Ideally, you’ll have a kitchen scale to measure this recipe in grams. When you do not, US-size cup measurements are offered, too, however observe that these are inaccurate. They’re smaller than metric-sized cups.
Cups are sometimes over-packed, including an excessive amount of flour to the bread and drying the dough. For greatest outcomes, use a scale.
Vitamin Data:
Yield: 8
Serving Dimension: 1 slice
Quantity Per Serving:
Energy: 197Complete Fats: 6gSaturated Fats: 3gTrans Fats: 0gUnsaturated Fats: 3gLdl cholesterol: 13mgSodium: 688mgCarbohydrates: 29gFiber: 2gSugar: 7gProtein: 6g
That is an informational estimate solely. I’m not a licensed Dietitian or Nutritionist
[ad_2]